DIY Link’s Cap from Legend of Zelda: for Plushies and Humans – Beginner Friendly
We have been obsessed with the Legend of Zelda for as long as we can remember. In honor of the release of Tears of the Kingdom, we wanted to make Link’s signature hat. His cap is known historically as a Phryigian cap; it originated in the ancient country of Phryigia in Anatolia.
This hat can be made in any size for humans, plushies, and even our furry pet friends. It can be sewn with a machine or by hand, either way it is sew easy!
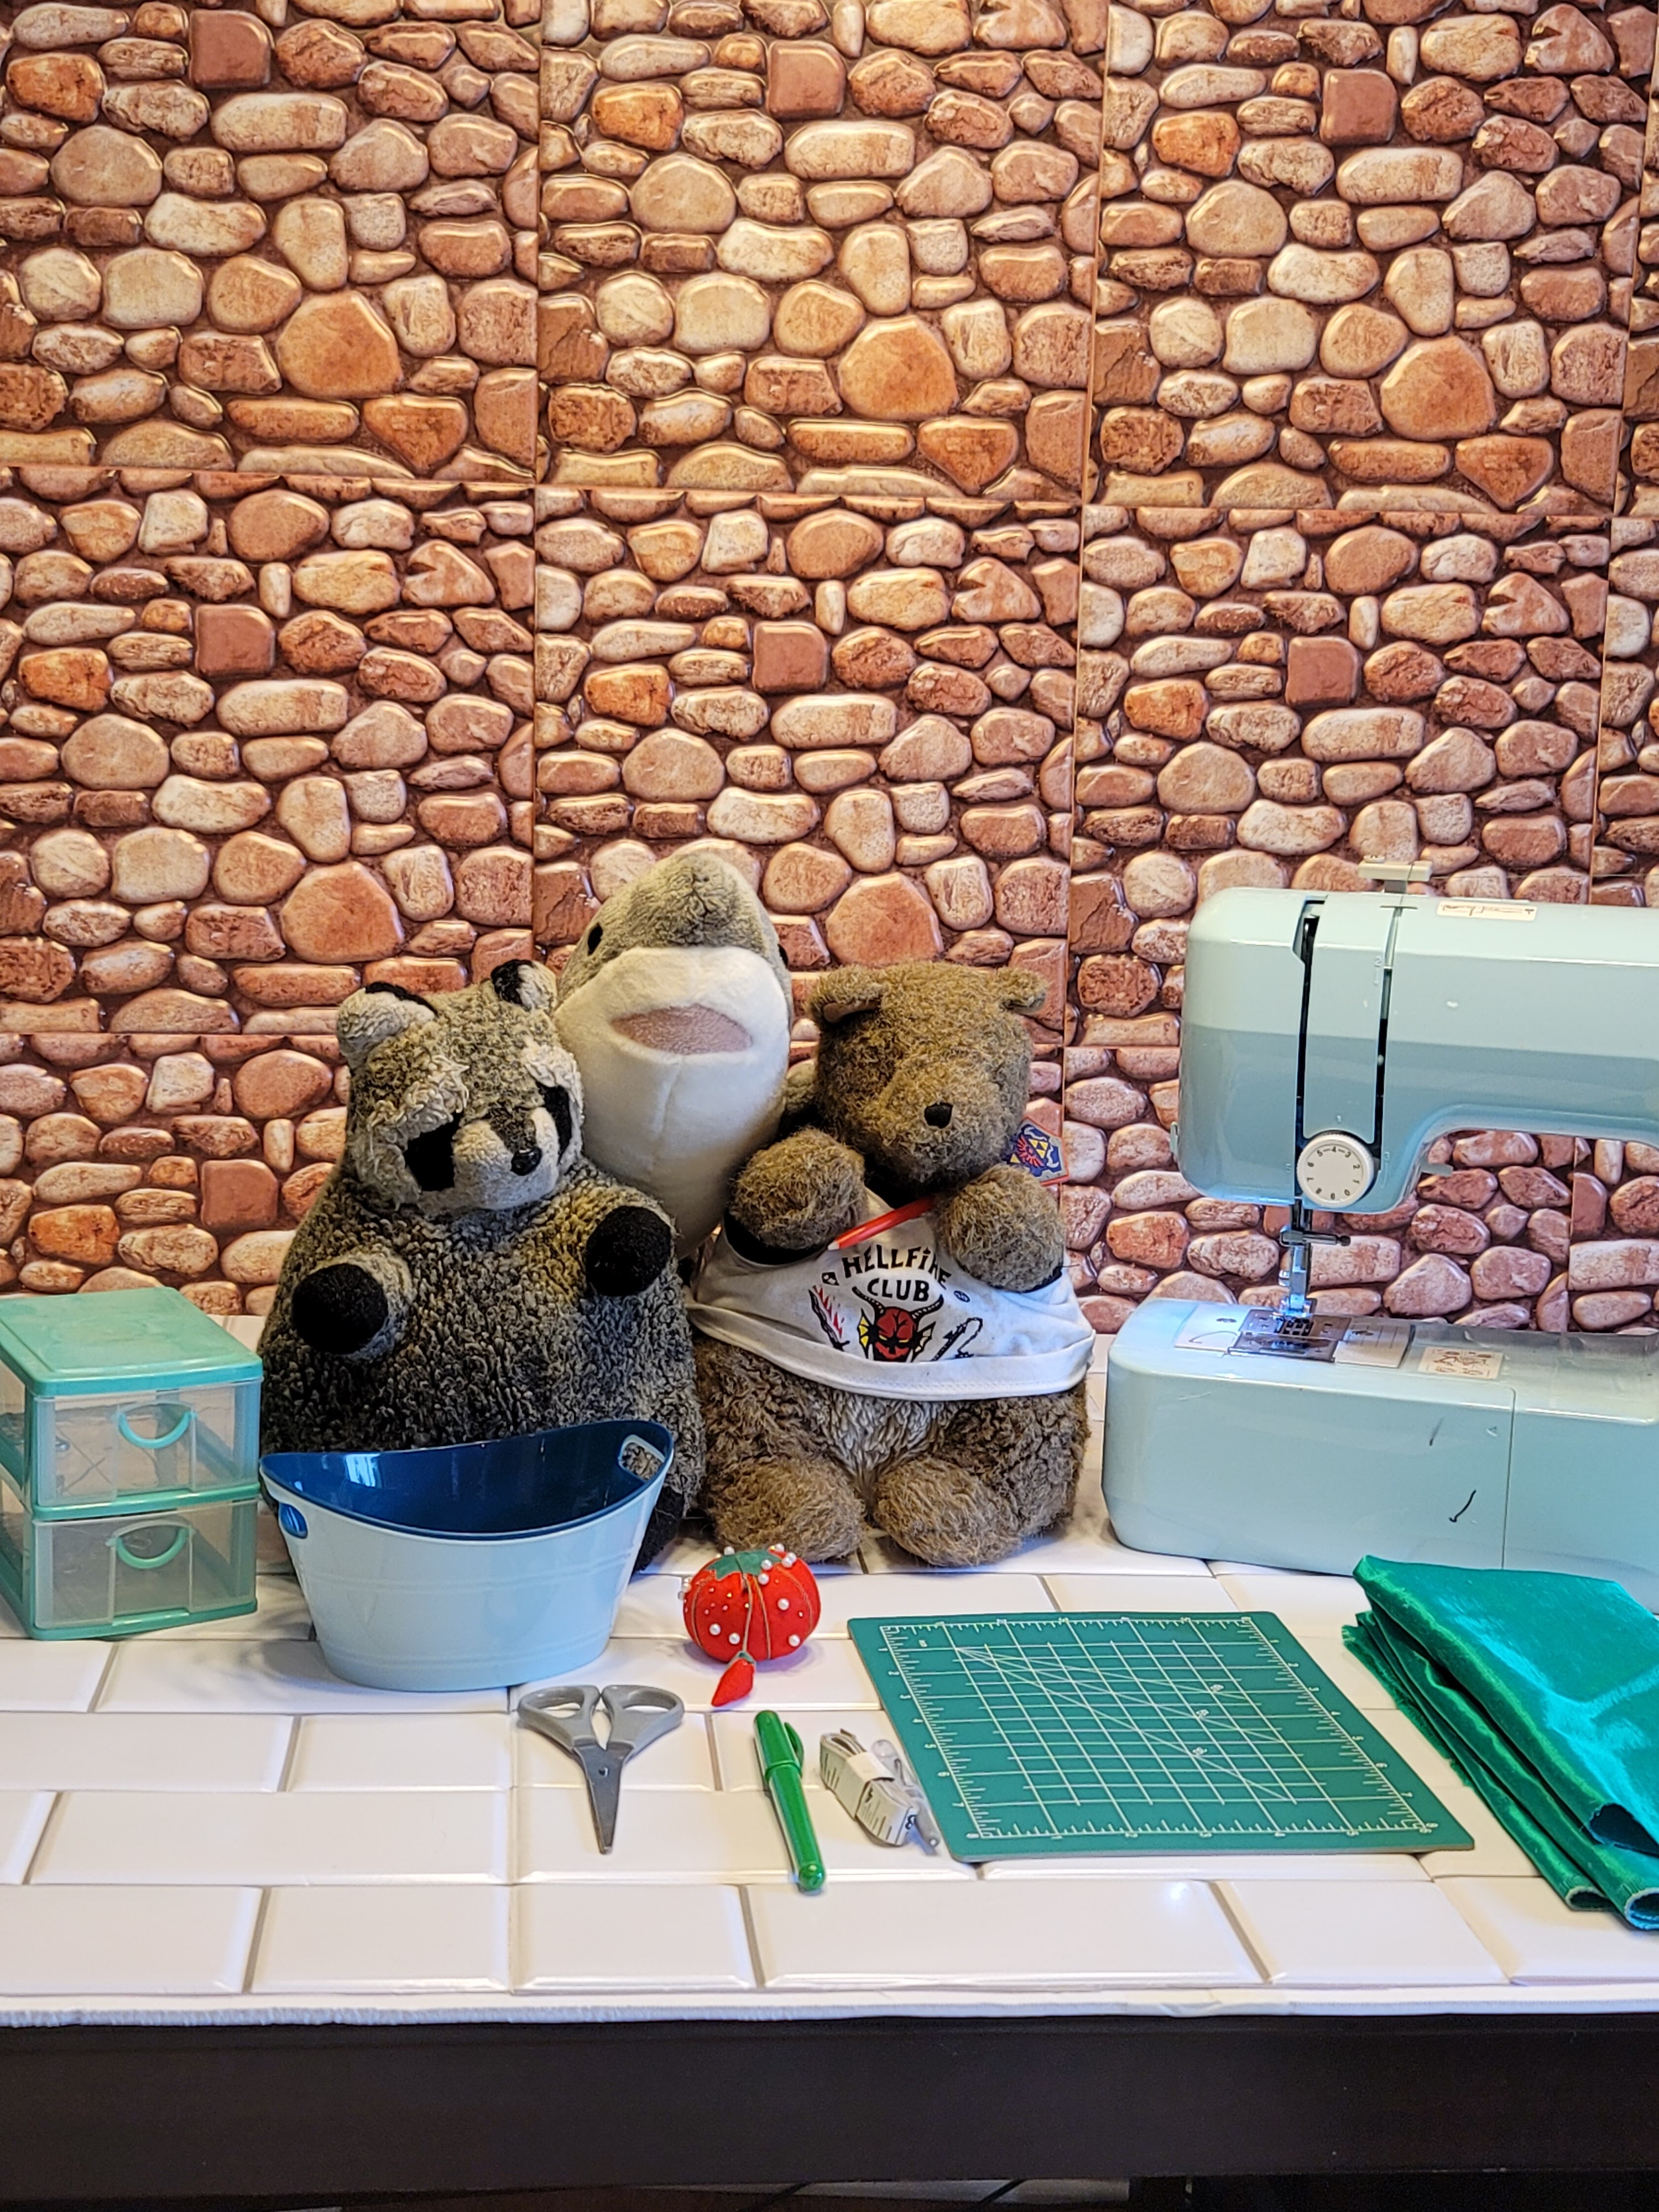
Materials Needed:
- Scissors or rotary cutter and mat
- Sewing machine and thread or hand sewing needle and thread
- Fabric marker or colored pencil
- Push pins or fabric clips
- Measuring tape and ruler (or a book with a straight edge)
- Fabric, most fabrics or felts will work
- Iron (optional)
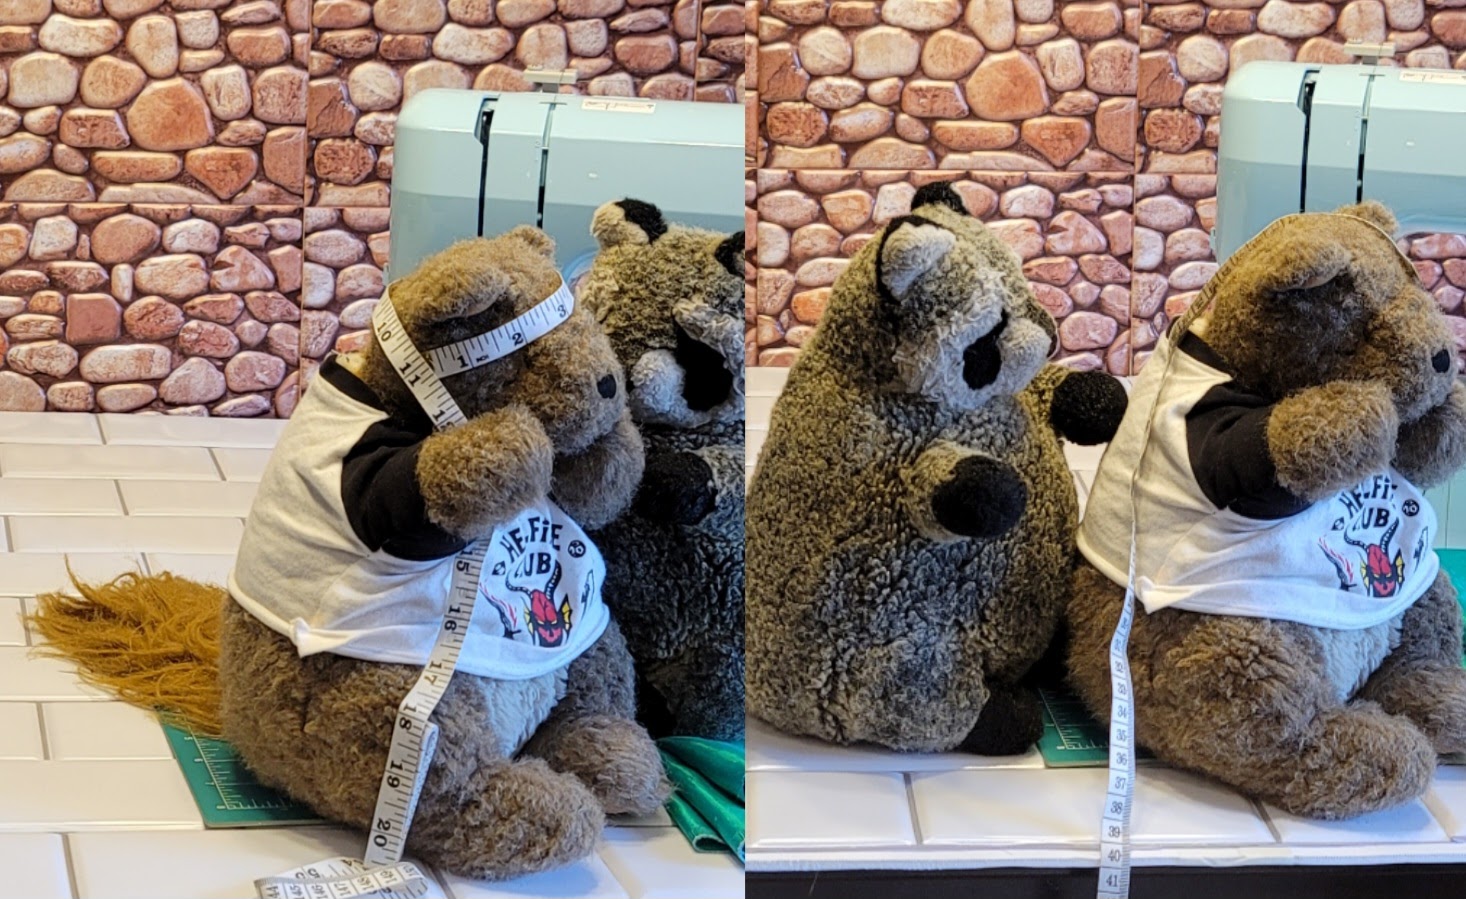
Step 1: Measuring
Use the measuring tape to measure the circumference of the subject’s head, where you want the cap to sit. Note measurement and add a 1/2 inch seam allowance. Measure from where the cap will sit on head to how far you want it to go down the back. Note measurement and add a 1/2 inch seam allowance.
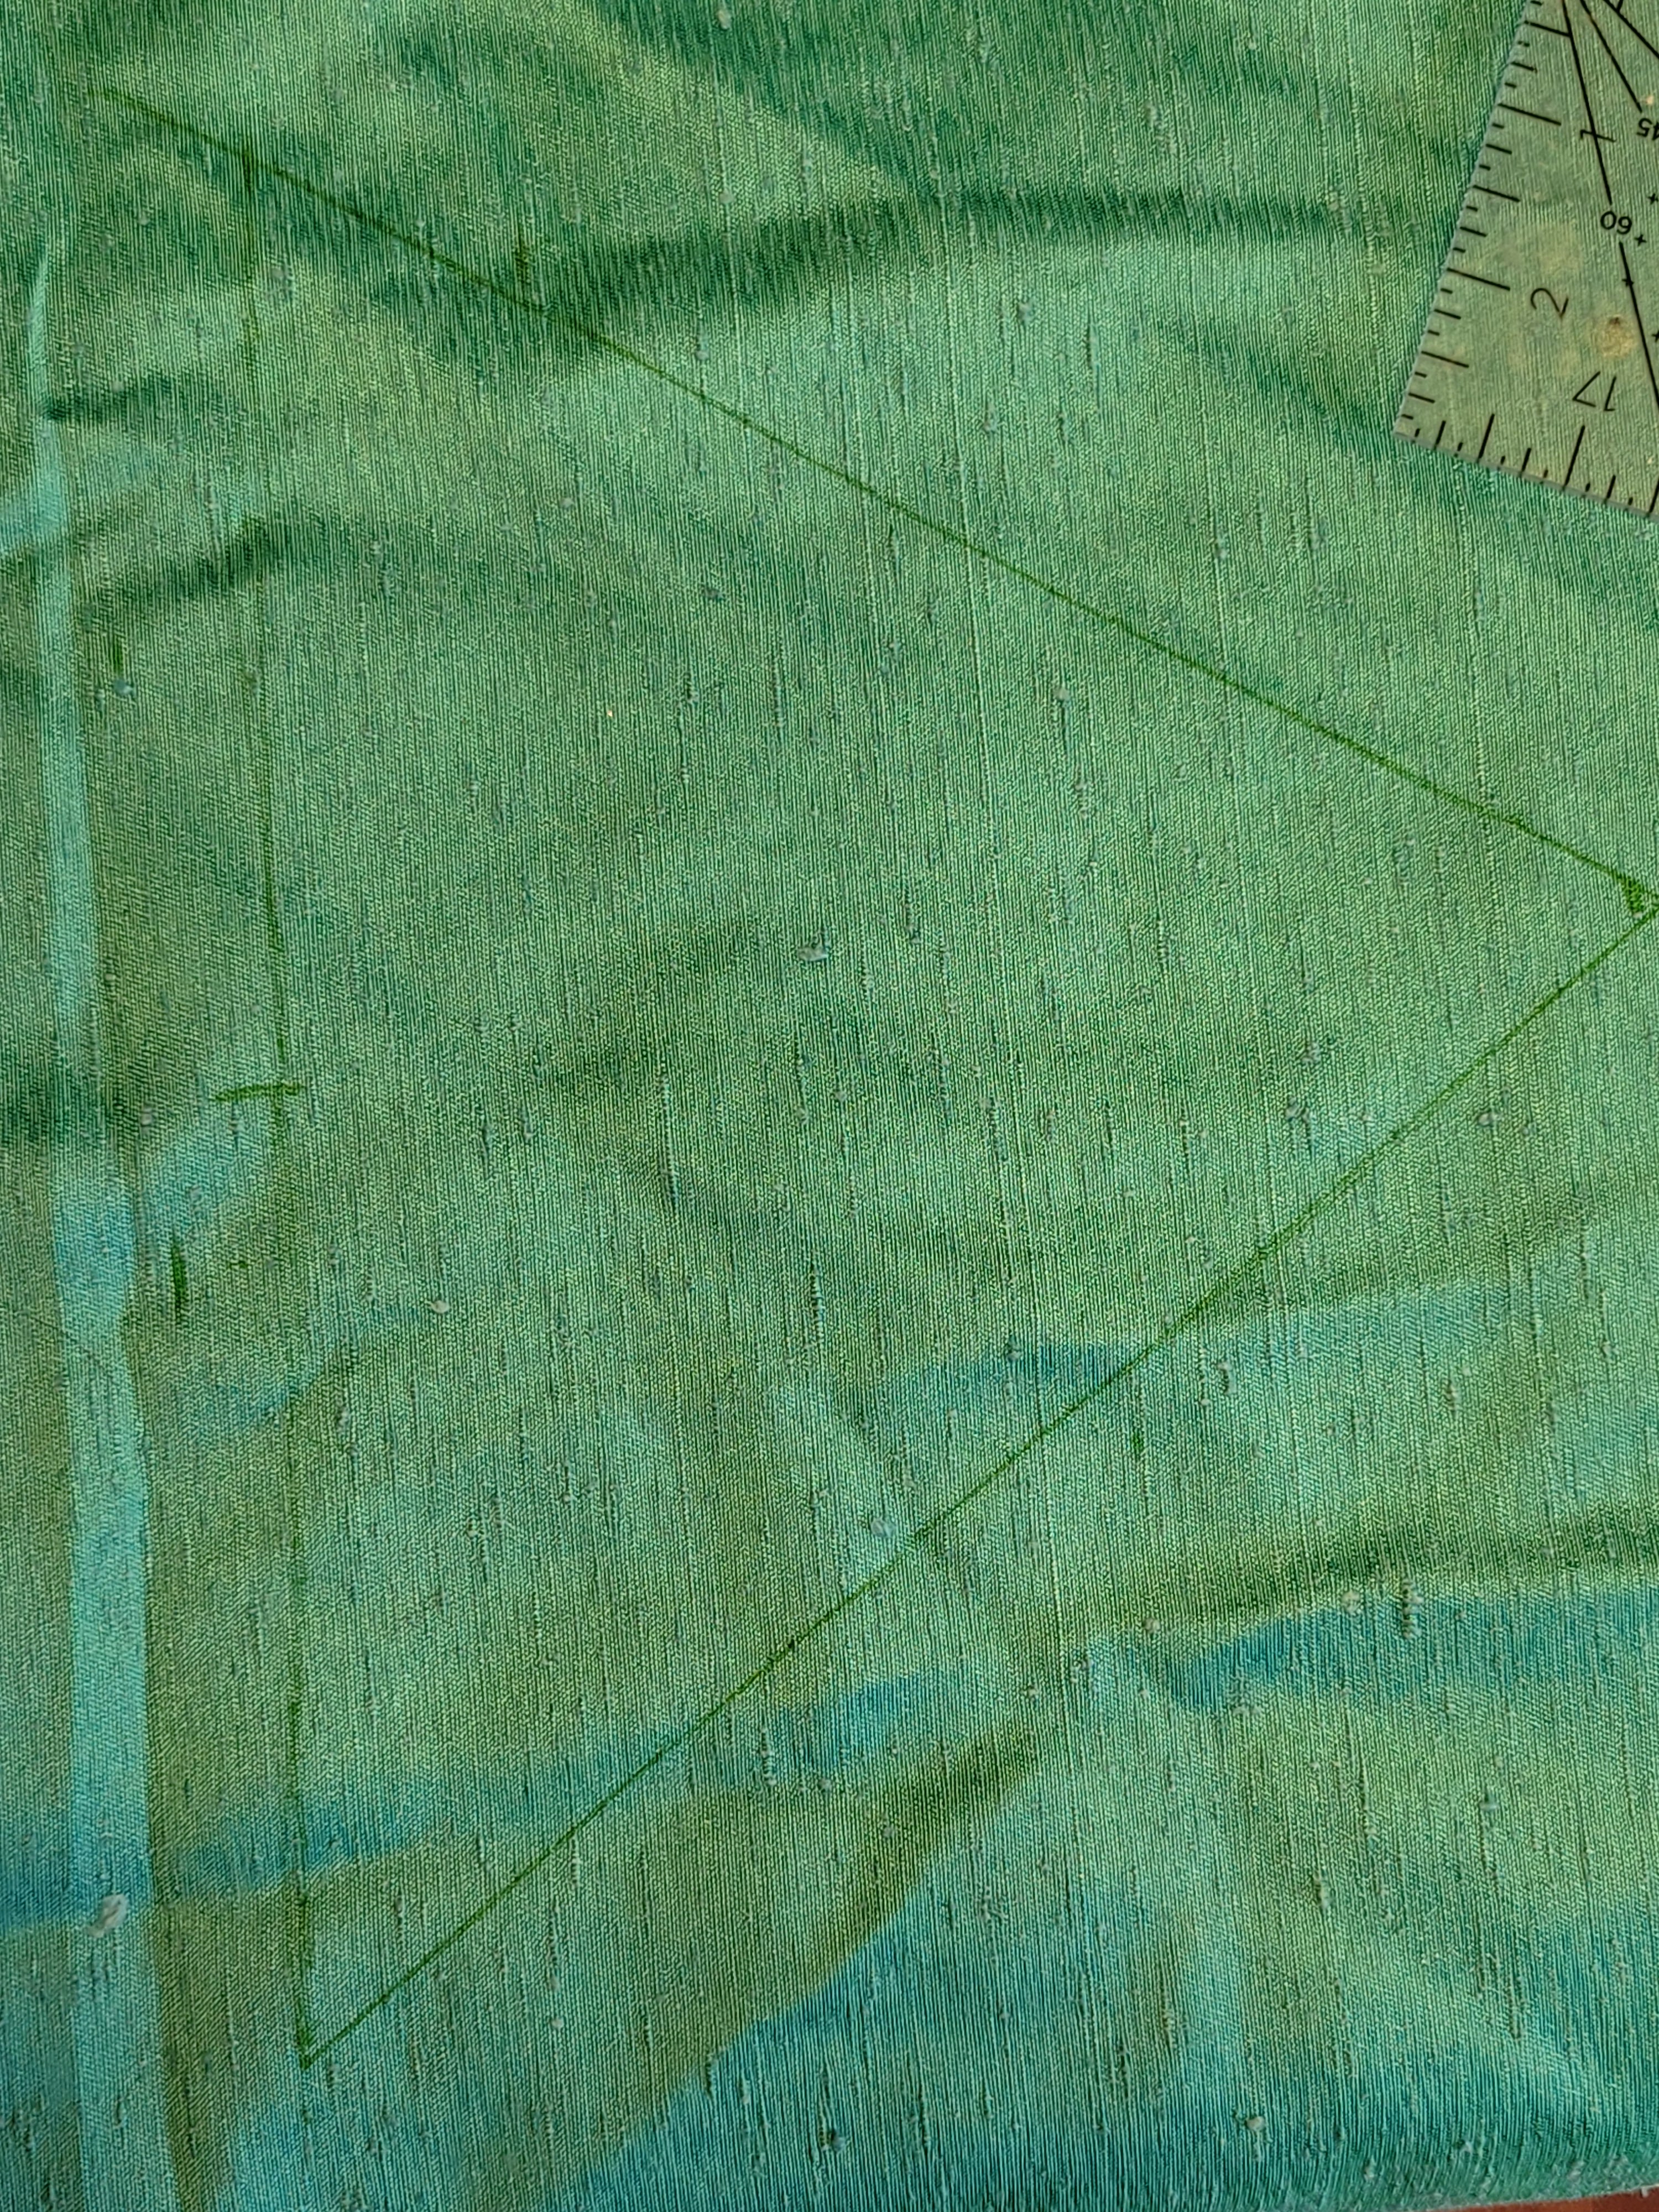
Step 2: Drawing Your Pattern
Fold your fabric in half, so you can cut out two pieces at once. Draw a horizontal line representing half of your circumference measurement. Ours was 10 inches, so we drew a 5 inch line. Starting from the halfway point of the line, measure up and draw a dot representing the measurement of how far back the hat will sit. Use a ruler or book to connect the dot to both ends of the horizontal line. You will end up with a triangle shaped pattern, perfect for Link, haha. We made our hat a little larger to fit a variety of stuffed friends.
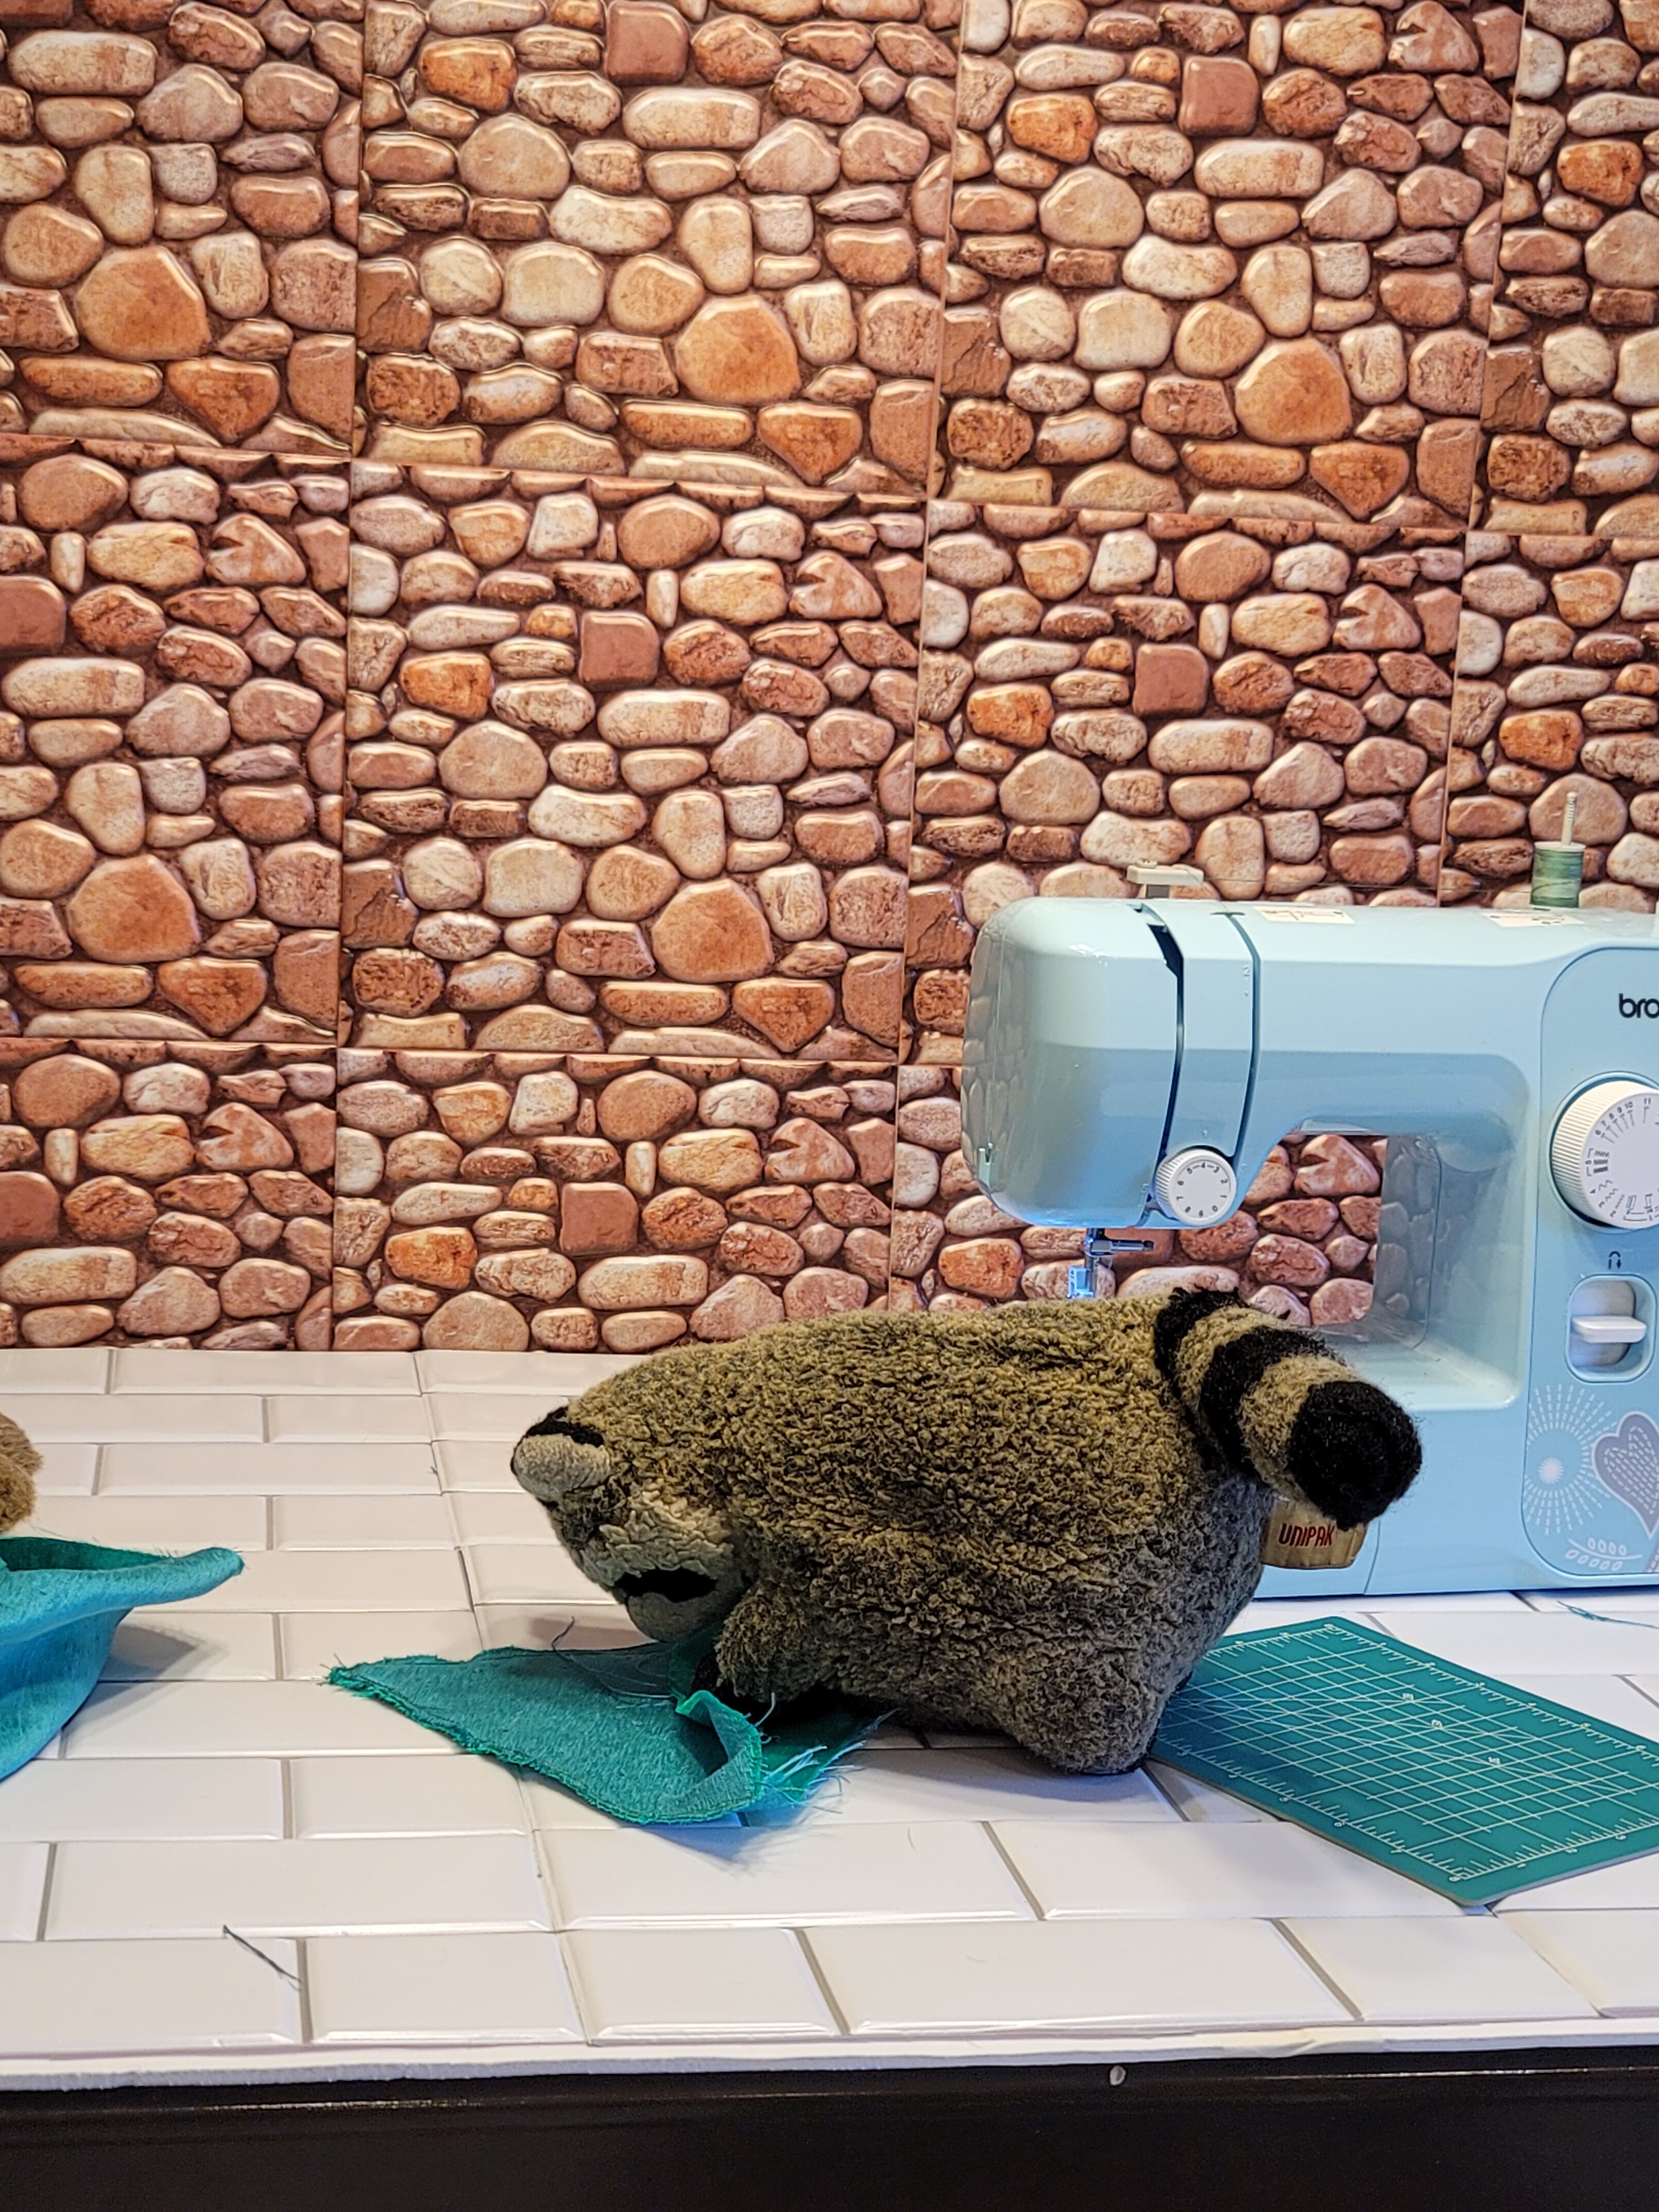
Step 3: Pinning and Cutting
Pin the fabric in place (right sides together) and cut out two pieces.
Step 4: Sewing it all Together
Sew along the right and left sides of the triangle, leaving the bottom open. Turn the triangle right side out to inspect your seams, then reverse, so the right sides face together once again.
Step 5: Hemming and Haha-ing
Hemming:
Fold the bottom edges over half an inch to create a hem. Ironing is optional, but a great way to firmly crease the material. Pin the hem in place and sew along the folds.
Haha-ing:
If you’re new here, you’ll soon learn we cannot make a post without several cheesy puns. The boys have been racking their brains to find the favorites for this post. We apologize in advance, but here are the winners. Skip to Step 6, if you just want to continue with the project, we totally understand.
KoonKoon: Will people ever stop getting Link and Zelda confused?
Hy-li-an Likely hahahahahahaha!
ChipChip: Why did the olympic athlete refuse to make a blanket?
Because winners never quilt
Sharky: Where does Zelda search for heroes?
Link-ed In!
Mommy: Oooh boys, I’ve got one too! Did you hear about the new Zelda gardening simulator?
You play as Link, the hero of thyme!
What did you think? Did they have you in stitches? Or were they sew-sew?
Okay we promise we’ll stop now and finish the project!
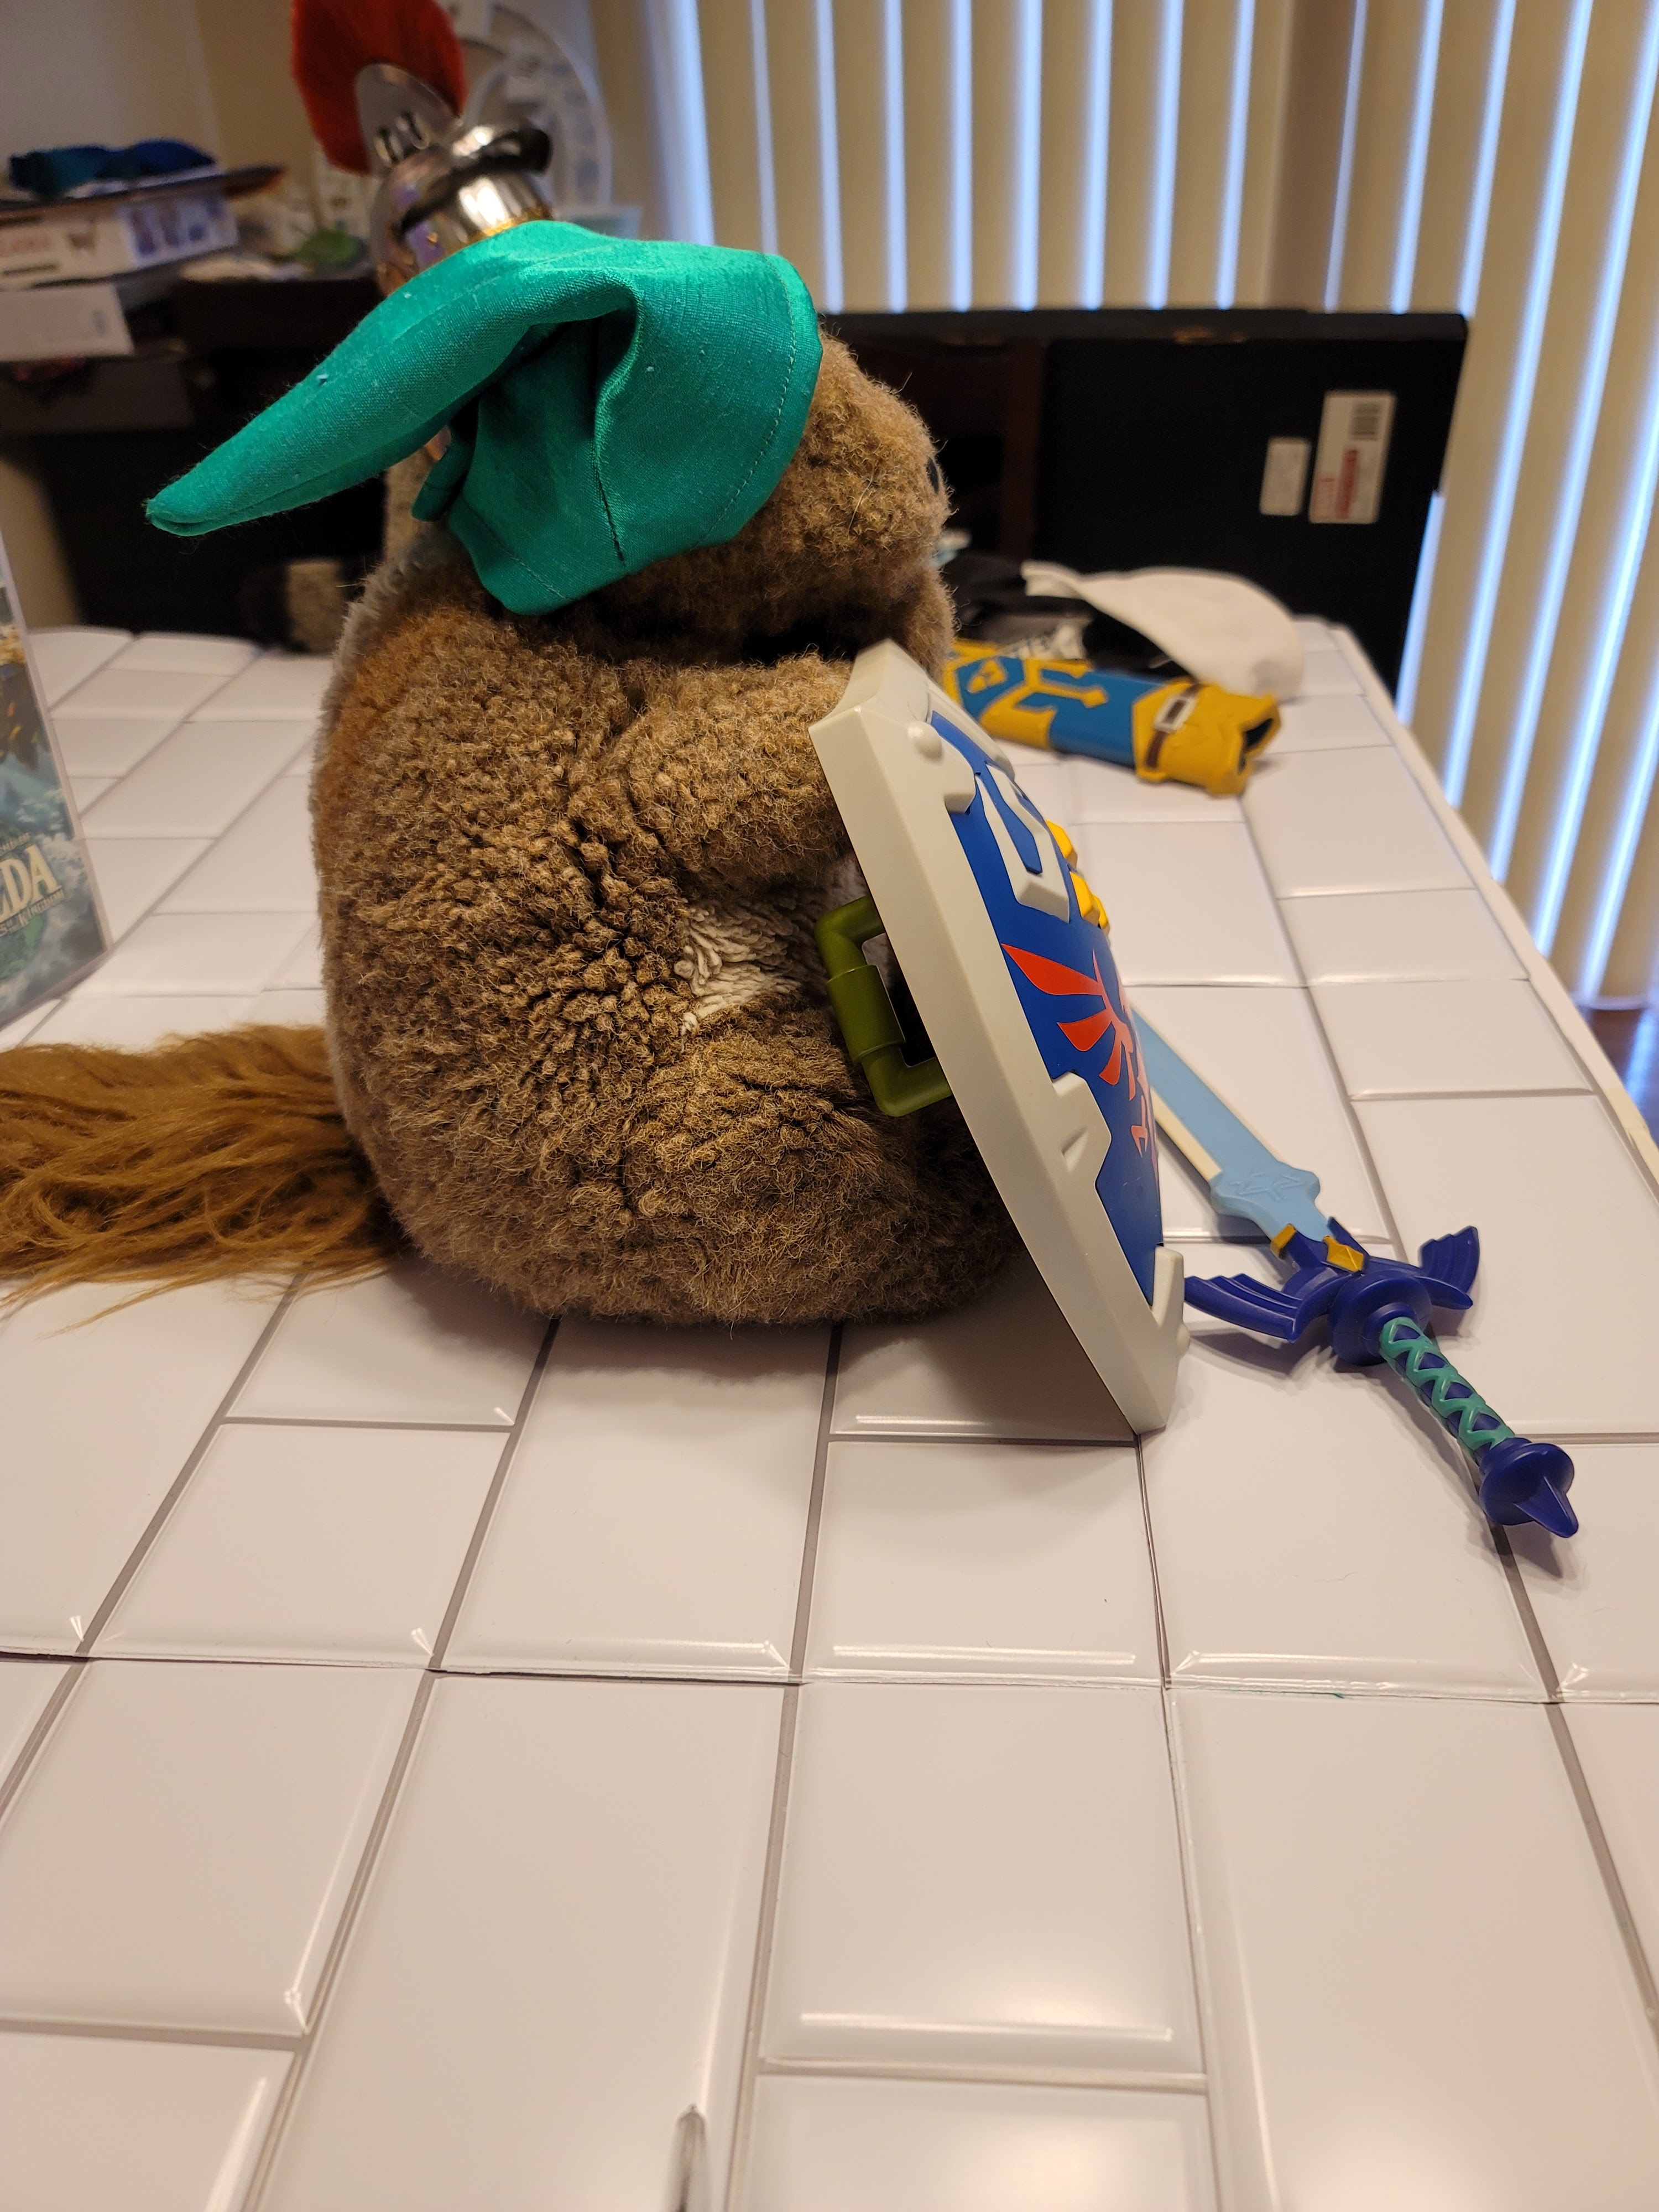
Step 6: Try on your new Hat
Turn the hat right side out and try on your new hat. Iron the seams, if desired, to improve the look.
Have you been playing Tears of the Kingdom? Let us know some of your favorite moments in the comments below. Please let us know how you liked the tutorial and how your hats turned out. Happy Gaming friends!!!
